Alt Feast

Offering alternative recipes without gluten, dairy, corn, or coconut

Category: Base Recipes

Foundational recipes that can be modified or combined with other recipes to form new dishes

  • Basic Rice Porridge (Congee)

    Basic Rice Porridge (Congee)

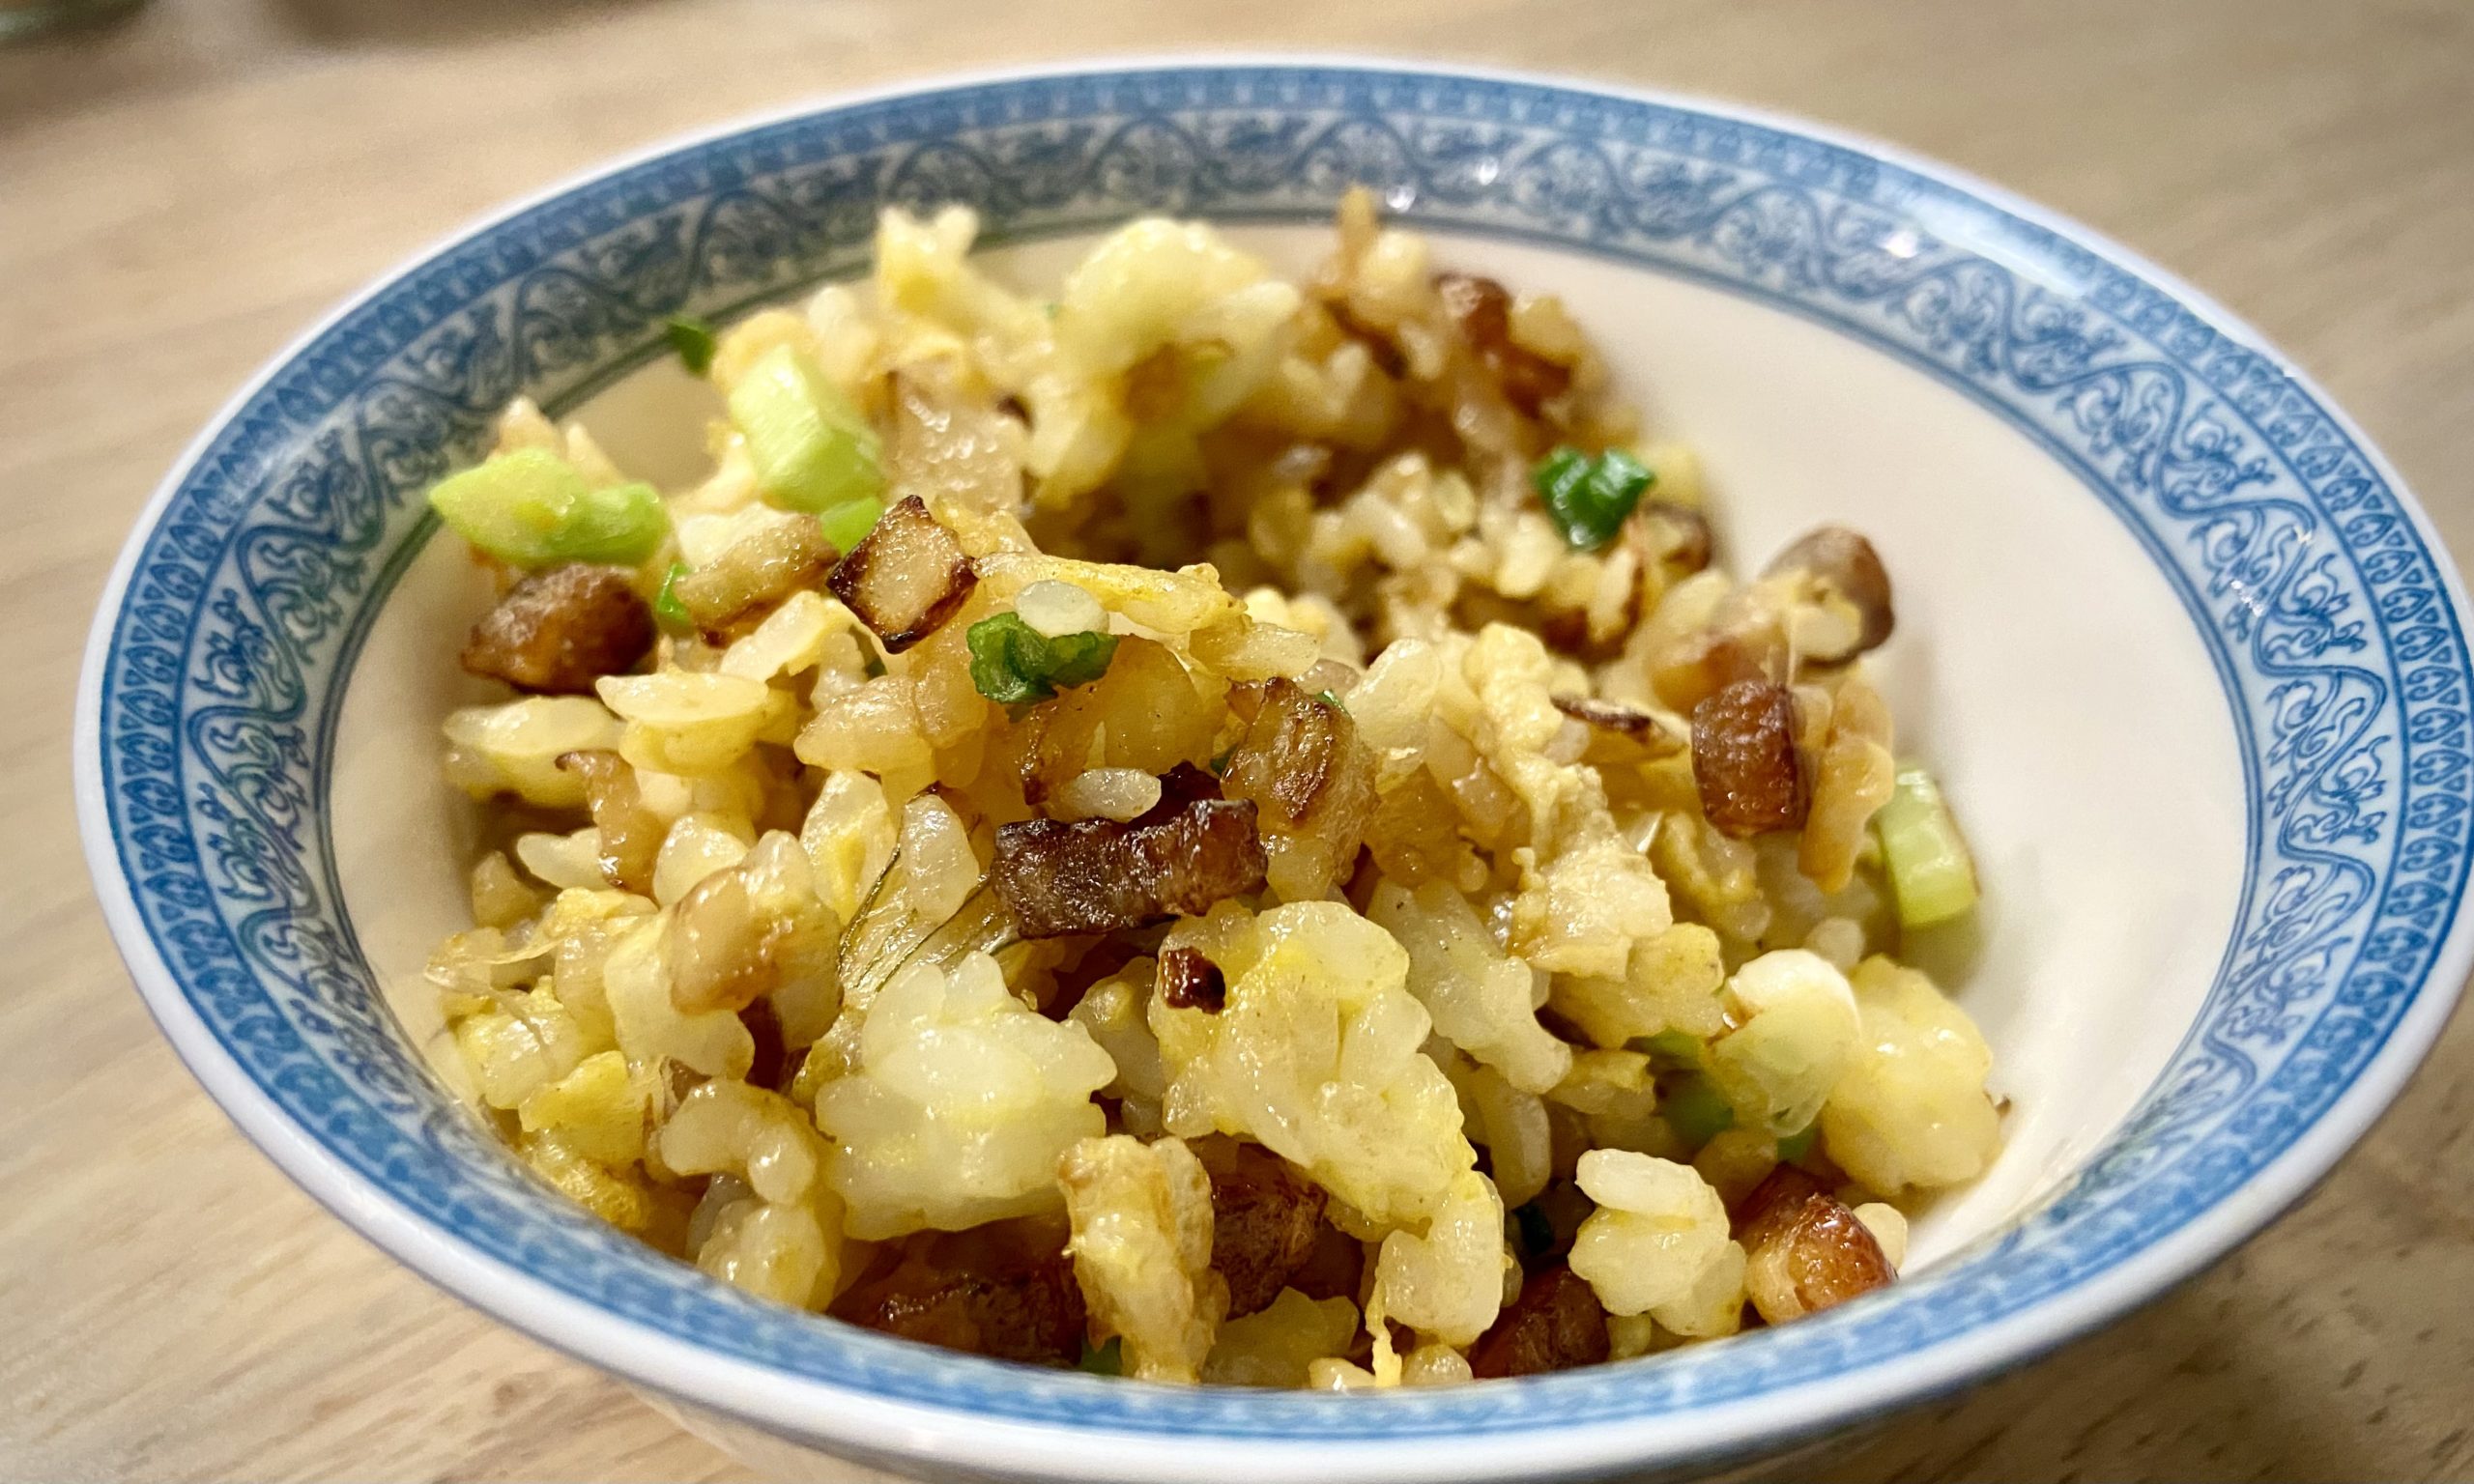
    Congee. Jook. Kayu. Ganji. Just like fried rice, every culinary region that serves rice also has a rice porridge option in their cuisine. Some are savory, some are sweet. Some are packed with flavors while others are plain and let the side dishes provide flavor for them.

    Cantonese style rice porridge
    Cantonese style rice porridge mixes the ingredients into the cooked rice porridge (in this case, minced pork and preserved century eggs) to add savory flavor. It is served like a soup at the table and shared between the guests.

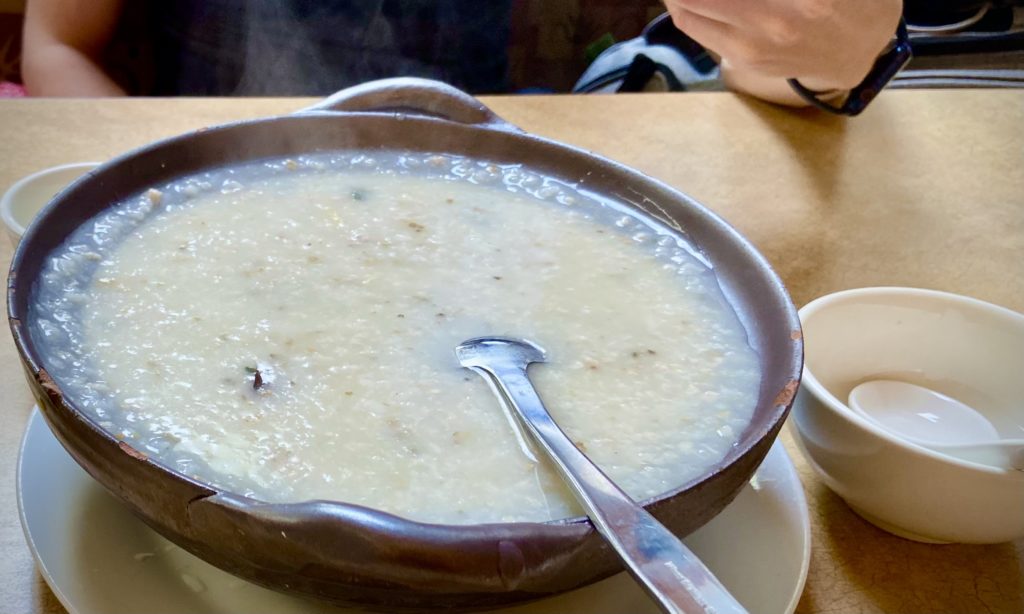
    At its core, rice porridge is just rice that’s been cooked in a lot of liquid for an extended amount of time so that the rice grains break down and release their starch into the liquid, creating a thick and gooey or creamy dish. In Asian home cooking, it is often served as comfort food, especially for those who are sick, since the broken-down rice is easy to digest. Rice porridge was also historically served to poorer communities and served in times of famine, since it allows regions to conserve their grain while still feeding their populaces whole bowls of food.

    Nowadays, rice porridge has become dishes of their own. Sometimes staples in a culture’s cuisine, sometimes a sweet treat. The customizations need only a little creativity to play with it for the home cook.

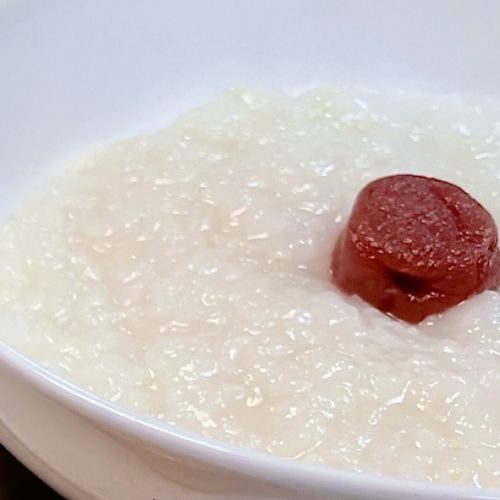
    The most basic of rice porridge consists of just rice and water.

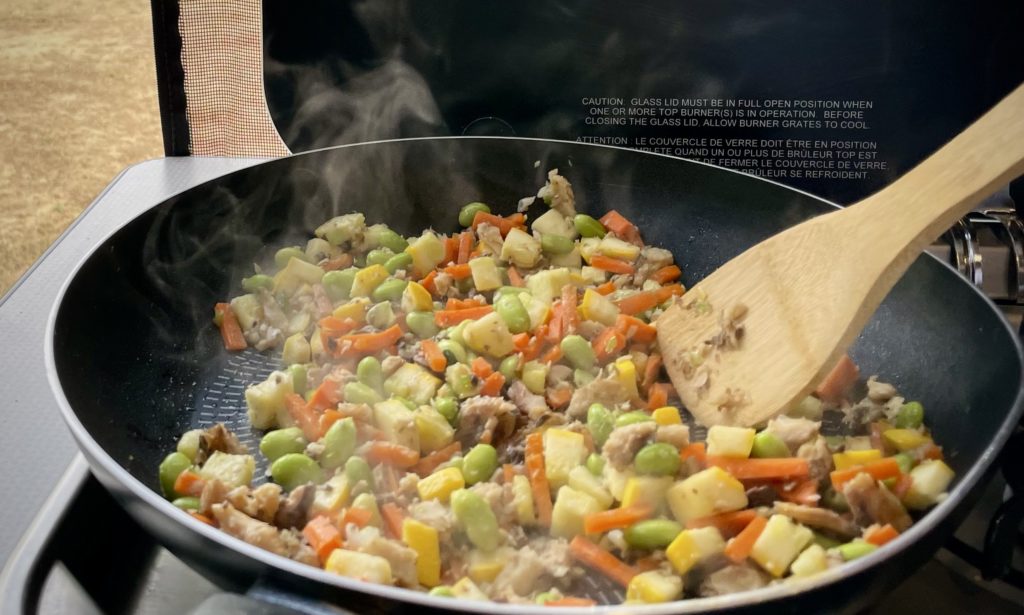
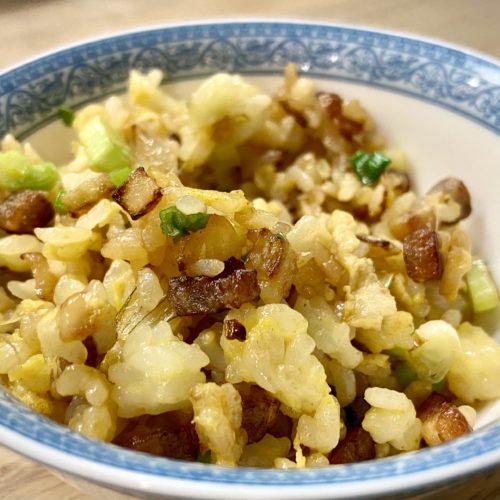
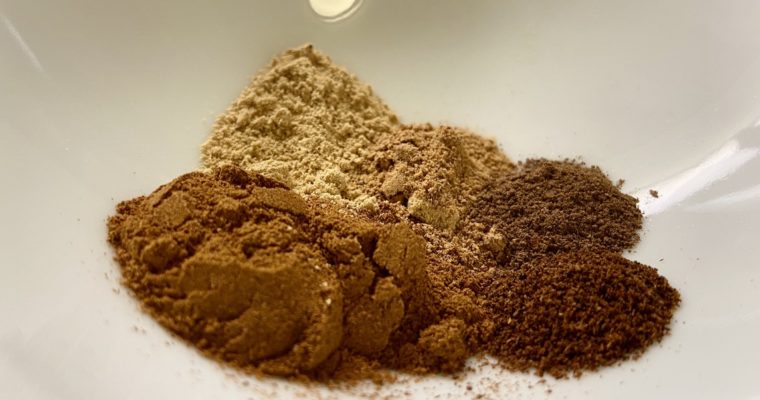
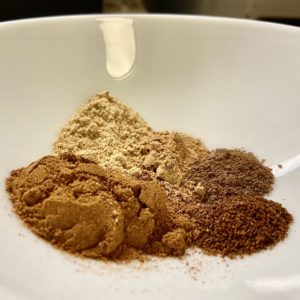
    To add flavor, you can add a broth when cooking the rice (such as the chicken broth in Filipino arroz caldo) or other starchy ingredients, like dal or sweet potatoes. Savory meats or pickles can be added to cooked porridge for savory flavors, or sugar, spices and your favorite non-dairy milk for sweet options. The customizations are endless!

    rice porridge with umeboshi

    Basic Rice Porridge (Congee)

    The most basic way to make rice porridge using an Instant Pot.
    Prep Time 2 minutes
    Cook Time 30 minutes
    Course Base Recipe
    Cuisine Asian, Chinese, Japanese

    Equipment

    • 1 Instant Pot or rice cooker or large pot for stove

    Ingredients
      

    • 1 cup rice see notes
    • 5 cups water see notes

    Instructions
     

    • Wash rice per your own preference. This step highly depends on what style of rice you got, what brand, and what region you live in. Ideally you want to make sure that when you add water to the rice, it is clear. If the water is milky or cloudy, you probably need to wash it.
      Drain the rice once you are finished washing.
      1 cup rice
    • Add your water.
      5 cups water
    • Cook rice in instant pot on rice porridge (or congee) setting for 20-30 min.
    • Once finished, let rice cooker return to pressure naturally for 10-15 minutes, then release vent to allow the remaining pressure to release. Do this last step CAREFULLY. Congee creates a gooey liquid that will quickly gum up your pressure cooker's vents if not vented properly. If you want to be extra cautious, just let the Instant Pot come to pressure naturally until it's openable (tip: turn off the Instant Pot instead of letting it continue to stay heated at low temp to allow it to release pressure naturally faster.
    • Stir and serve immediately.

    Notes

    This is for the most basic rice porridge recipe. Flavorings should come from any foods you serve with this porridge. 
    You can add additional water or remove depending on how thick you want it. 
    You can also increase or decrease the time depending how broken down you want the rice to be. This is also dependent on what type of rice you’re using. This base recipe here works best for short or medium grain rice. For long grain rice, first break down the dry rice grains by grinding them, then cook into a rice porridge. Otherwise, you can keep long grain kernels intact and cook them that way, but the cook time will be considerably longer. 
    Keyword base recipe, rice

    Note of warning:

    Be careful when eating rice porridge at a restaurant, especially the Chinese or Cantonese varieties. While congee is SUPPOSED to be just rice, congee is a dish that takes time to make. Restaurants will often add corn starch to thicken it up faster and also provide a desirable “silky” texture to their porridge. I learned this the hard way. Don’t make my mistake if you also cannot digest corn!

    Rice Porridge Recipes

  • Base Recipe: Fried Rice

    Base Recipe: Fried Rice

    Every culinary region that has rice as a dietary staple has a variation of fried rice in their cuisine. From the iconic egg fried rice of Eastern China, to the ketchup-flavored and egg-wrapped variant of Japan, to the spiced and fragrant plates of India, fried rice is a highly versatile dish.

    Historically, fried rice likely originated from China and is most commonly associated with Chinese cuisine (there are many variants to fried rice in China alone). However, after so many years of culinary influencing and emigration, you can find fried rice everywhere in the world, including many non-Asian regions such as the Puerto Rican “arroz mamposteao” or Peruvian “arroz chaufa”.

    While there are iconic ingredients and methods that seem to identify variations of fried rice with specific culinary regions (for example, the use of shrimp paste or sambal in Indonesian fried rice), when made at home, fried rice is often cooked as a way to use up leftover ingredients.

    If you have vegetables, meat, and rice (leftover rice from the day before being most ideal), you can make a solid fried rice dish that will serve as a one-pot meal.

    Fry pan cooking fried rice ingredients
    Fried rice can be cooked anywhere, including while camping. A mix of temperature-hardy vegetables and some canned sardines makes for a savory and healthy camp night meal.

    In order to make fried rice healthier at home, I have a few key rules to follow:

    • The rice should consist of 1/2 or 1/3 of the dish in volume. The rest of the meal should be made of more nutritious elements, such as vegetables and/or proteins.
    • For the remaining 1/2 or 2/3 of the dish, 2/3 to 3/4 of that should be vegetables. You’ll want to favor vegetables that keep their shape over leafy greens or watery options (think “carrots, onions, zucchini, and peas” over “lettuce, bok choi, etc”), but please feel free to experiment here!
    • Meat is a flavoring agent – Salty or fatty meats can be used in fried rice and, in my opinion, should. But a little can go a really long way.
    • Minimize oil usage – you honestly don’t need a lot of cooking fat for a good fried rice. Restaurants use a lot for cheap-and-easy flavor. If you’re doing it at home, there are other ways to up the savory-ness of fried rice

    [graphic for fried rice ratios]

    egg-coated fried rice

    Base Recipe: Fried Rice

    A foundational formula for fried rice. Modify for your own variation and flavor!
    Prep Time 5 minutes
    Cook Time 10 minutes
    Course Base Recipe
    Cuisine Base Recipe
    Servings 4

    Equipment

    • 1 wok or other large cooking pan

    Ingredients
      

    • 1 cup leftover rice any type of works, but may require different prep steps depending on how starchy it is. See notes.
    • 1 cup diced vegetables i.e. onion, carrot, green peas, etc. See notes.
    • 1/4-1/2 cup diced meat i.e. pork belly, sausage, sardines, chicken etc. See notes
    • Flavoring(s) of choice i.e. Soy sauce, spice blends, chili paste, etc.

    Instructions
     

    • Break down the leftover rice until the grains are fully separated and not sticking together in clumps (this is especially important if using the starchier short- or medium- grain varietals such as sushi rice or calrose rice)
      1 cup leftover rice
    • In a wok (or large sauté pan), add your cooking oil and begin stir frying the meat and vegetables according to ingredient cook times and personal preference (i.e. cook onions first before meat if you want a softer onion texture and taste)
      1 cup diced vegetables, 1/4-1/2 cup diced meat
    • Add in rice and continue to stir fry, tossing/stirring constantly to prevent rice from sticking and to fully incorporate the ingredients and flavors.
    • Add in flavorings and continue to stir fry to fully incorporate.
      Flavoring(s) of choice
    • Remove from heat and serve immediately.

    Notes

    1. Starchier short-grain or medium-grain rice tends to clump up and harden when left over. You can break this down by hand, using egg or another liquid to soften it or just breaking it apart with your fingers. Long-grain rices (like basmati or jasmine) will not stick to itself as badly so you’ll have less issue with rice clumps in the fried rice if you use those. 
    2. You can technically use vegetables, but to prevent too much liquid from forming (and making your fried rice soggy as a result), try to stick with starchier or hardier vegetables, such as carrots, zucchini, and onions, and leave out the leafy greens. 
      1. You’ll also want at least 1 kind of aromatic vegetable (i.e. onions, scallions) to add flavor to the dish
    3. Depending on the meat, you may want to add more or less to your fried rice. Saltier or fattier options can “spread out” flavor than standard unseasoned raw meat. It’s definitely worth it to add a bit of something savory as your protein base, but worth using it conservatively if you do. 
    4. Flavoring are where the different regional varieties come to play. Try using some standard seasonings (soy sauce, sesame oil, sambal, etc) one day, and then get creative on another (creole spice blend, etc). The possibilities are endless!
    Note: Many recipes call for egg, but how they incorporate the egg varies wildly. Try scrambling it in the fried rice, or frying one to place on top. Figure out what you like best!
    Keyword base recipe, fried rice, rice

    Some Fried Rice Recipes and Variations:

  • Staple Recipe: Dashi Stock (slow cooker method)

    Staple Recipe: Dashi Stock (slow cooker method)

    Dashi stock is a staple in the Japanese kitchen and there are many ways to prepare it.

    Traditionally, dashi is made by either soaking konbu in cold water for a long period of time, or heating konbu in hot simmering water for a several minutes (never boil though! Supposedly konbu creates a bitter taste if boiled). A popular variant of konbu dashi, and one I prefer to use in all my dishes, includes simmering katsuoboshi (dried bonito that has been shaved into flakes) along with the konbu for a richer taste.

    Nowadays there are shortcut methods to making dashi stock. Probably the most common method is to use freeze-dried granules (commonly known as “Hondashi”), which you can buy from many stores, including online. It works similarly to how chicken bouillon works… dissolve the granules into water for instant flavored broth!

    I’ll admit, I’ve used Hondashi in the past, before I became wary of food labels and hidden ingredients. Similar to chicken bouillon, Hondashi’s ingredients don’t necessarily reflect what you’d expect from the food it makes. Unfortunately, in addition to not having ANY mention of “konbu” in its ingredient list, Hondashi contains (surprise!) lactose. Lactose comes from milk, so as a person who cannot consume dairy, Hondashi is a surprising food ingredient that I cannot have.

    jar of hondashi granules
    HonDashi is a quick-solution for dashi stock, but unfortunately has milk product in it so is not good for people who can’t consume dairy.

    In all honesty though, dashi stock is INCREDIBLY EASY to make and its 2 ingredients are both pantry-based shelf-stable items. While I understand the ease of keeping a box of ready-to-use Hondashi in the fridge or pantry, I highly suggest making dashi stock from scratch when cooking Japanese foods. Hopefully this method makes it easier for you!

    Perhaps a bit unconventional, but the way I always make dashi stock is with my slow cooker! I have a 3-quart Instant Pot with a slow cooker function. I just toss my ingredients in there and let it cook on high overnight. By morning I have a pot full of dashi stock ready to use for any recipe I have for the week (or I freeze the leftover stock if I end up not using it).

    One of the benefits to making dashi from a slow cooker is that you need less of the stock’s core ingredients per pot. Slow cooking extracts the flavor and nutrients from the seaweed and dried fish over an extended period of time, making sure that every drop of flavor is pulled out and dispersed into the broth. Additionally, because the slow cooker method never boils the content, you won’t end up with bitter broth. Instead you’ll get an ultra savory, rich, seafood-based broth that works perfectly to give your dishes that “umami” puch.

    Special Ingredients:

    dried konbu
    Dried konbu usually comes in large sheets, but can be cut down to whatever size you need. I personally like cutting it into 1 inch squares and storing it in a jar in my pantry.
    katsuoboshi
    Katsuoboshi is dried bonito that has been shaved and packaged as flakes. It comes in various sizes of packaging and flake size, depending on how you want to use it. All of them work for dashi stock, but commonly the larger-flake bags are used.

    By the way… dashi stock is useful in dishes beyond Japanese and Asian cuisine. One of my favorite ways is to use it as a liquid base for cioppino or other seafood-based soups and stews.

    dashi stock in 2 quart containers

    Slow Cooker Dashi Stock

    A easy-to-make overnight Japanese dashi that results in a rich and umami broth ready for use in whatever recipe you have planned
    Prep Time 1 minute
    Cook Time 10 hours
    Course Base Recipe
    Cuisine Japanese
    Servings 1 quarts

    Equipment

    • 1 slow cooker I have a 3-qt instant pot with slow cooker setting

    Ingredients
      

    • 4-6 1-in squares dried konbu
    • 1/4 cup loosely packed katsuoboshi
    • 10 cups water

    Instructions
     

    • Add everything to your slow cooker and turn it on to high. Let it cook overnight, at least 8 hours (some liquid may evaporate).
      4-6 1-in squares dried konbu, 1/4 cup loosely packed katsuoboshi, 10 cups water
    • Strain the broth and store in the fridge for up to 1 week. Or freeze for longer storage.

    Notes

    Leftover konbu and katsuoboshi makes for a great dog treat if your dog is in to seafood flavors. Seaweed is very healthy for dog kidneys. Ours loves it. 🙂 
    Keyword broth, soup, stock

    Recipes that use dashi stock

  • Breakfast Sausage Spice Mix

    Skip the pre-packaged version and make breakfast sausages (or patties or just simple ground meat) full of that breakfast sausage taste without the unwanted additives and excessive sugar. After making this, I definitely prefer it over any restaurant or diner version hands down!

    (more…)
  • Chai Spice blend

    Chai Spice blend

    This is my go-to spice blend for making chai-flavored sweets or drinks. Sprinkle into your coffee for a little kick or bake it into a cake. This spice blend can also be used to make chai lattes and the traditional Indian chai teas.

    (more…)
  • Pumpkin-based Muffins or Cake

    Pumpkin-based Muffins or Cake

    This is one of my favorite go-to sweet treat recipes because it’s so versatile: a cake batter with a pumpkin puree base. Healthier and more nutritious than a purely flour-based cake, you can change up the additives to make a variety of flavors.

    (more…)
  • Pumpkin Spice blend

    Pumpkin Spice blend

    A seasonal favorite! While I’m not a huge fan of pumpkin spice in my coffee, I do love a good sweet treat full of this aromatic spice blend. Mixing a few teaspoons while making baked treats (like pumpkin pie or chocolate chip muffins) is delicious!

    When I find a calling to make something pumpkin spiced, I generally only need a small amount. I never buy the premade spice jars and while those work just fine, keeping a full container of pumpkin spice in my pantry just isn’t really practical for me, especially with limited storage space.

    When in the need for pumpkin spice, I usually mix just enough to cover that recipe and no more. There are only 5 spices that make up a pumpkin spice blend and they are things I regularly keep stocked in my spice cabinet. If you cook somewhat regularly, you will likely have these tucked away somewhere as well. If not, I recommend buying the individual spices as you’ll find they get used in other recipes frequently enough.

    Here’s my go-to recipe for pumpkin spice. It makes just 2 teaspoons and can be scaled up (or down) as needed.

    And yes, this spice blend also works well in a cup of coffee. ☕️

    pumpkin spices

    Pumpkin Spice Blend

    a small-batch pumpkin spice blend perfect for baking treats and flavoring other sweets
    Prep Time 2 minutes
    Total Time 2 minutes
    Course Pantry Item
    Cuisine American
    Servings 2 tsp

    Ingredients
      

    • 1 tsp cinnamon
    • ½ tsp ground ginger
    • ¼ tsp nutmeg
    • tsp all spice
    • tsp ground cloves

    Instructions
     

    • Add all the spices to a small container and mix thoroughly.
    • Store in a small spice jar or use right away.

    Notes

    Double, triple, quadruple, etc this recipe as needed. See below for some ideas on how to use this spice blend!
    Keyword spice blend

    Here are some recipes that feature pumpkin spice well:

    1
    pumpkin-based muffin pictured with chocolate chips
    Gluten Free Dairy Free Pumpkin-Based Muffins
    Muffins made from pumpkin puree and almond flour
    Check out this recipe